-
Posts
983 -
Joined
-
Last visited
Content Type
Profiles
Forums
Blogs
Events
Resources
Videos
Link Directory
Downloads
Everything posted by BetaTime
-
I'll check into it. Thanks.
-
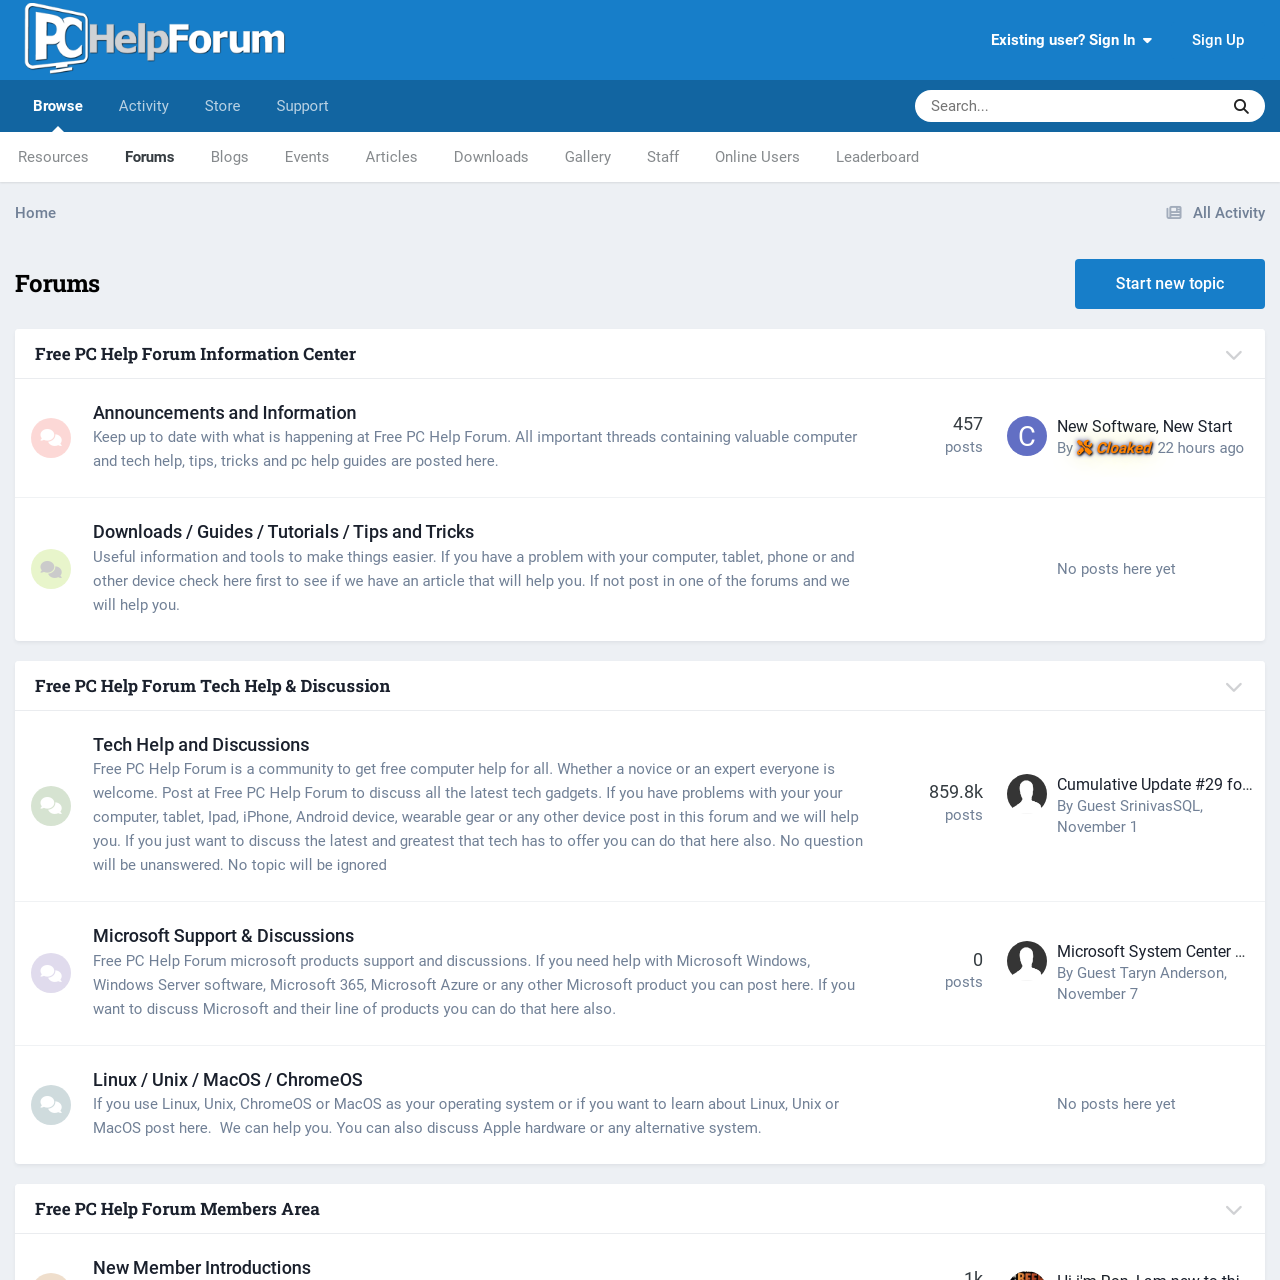
Free PC Help Forum, a community-driven platform that offers free computer and technology support. The forum covers a wide range of topics, including software, hardware, and operating systems. Key Points The forum hosts various resources, such as forums, blogs, articles, and downloads, to help users with their computer and tech-related issues. The forum covers a variety of topics, including Microsoft products, Linux, Unix, MacOS, and ChromeOS, as well as general tech discussions. The forum has a welcoming community, where new members can introduce themselves, and members can discuss various topics in the "Water Cooler" section. The forum also includes a section for feedback, bug reports, and feature suggestions.
-
Free PC Help Forum, a community-driven platform that offers free computer and technology support. The forum covers a wide range of topics, including software, hardware, and operating systems. Key Points The forum hosts various resources, such as forums, blogs, articles, and downloads, to help users with their computer and tech-related issues. The forum covers a variety of topics, including Microsoft products, Linux, Unix, MacOS, and ChromeOS, as well as general tech discussions. The forum has a welcoming community, where new members can introduce themselves, and members can discuss various topics in the "Water Cooler" section. The forum also includes a section for feedback, bug reports, and feature suggestions. View full link
-
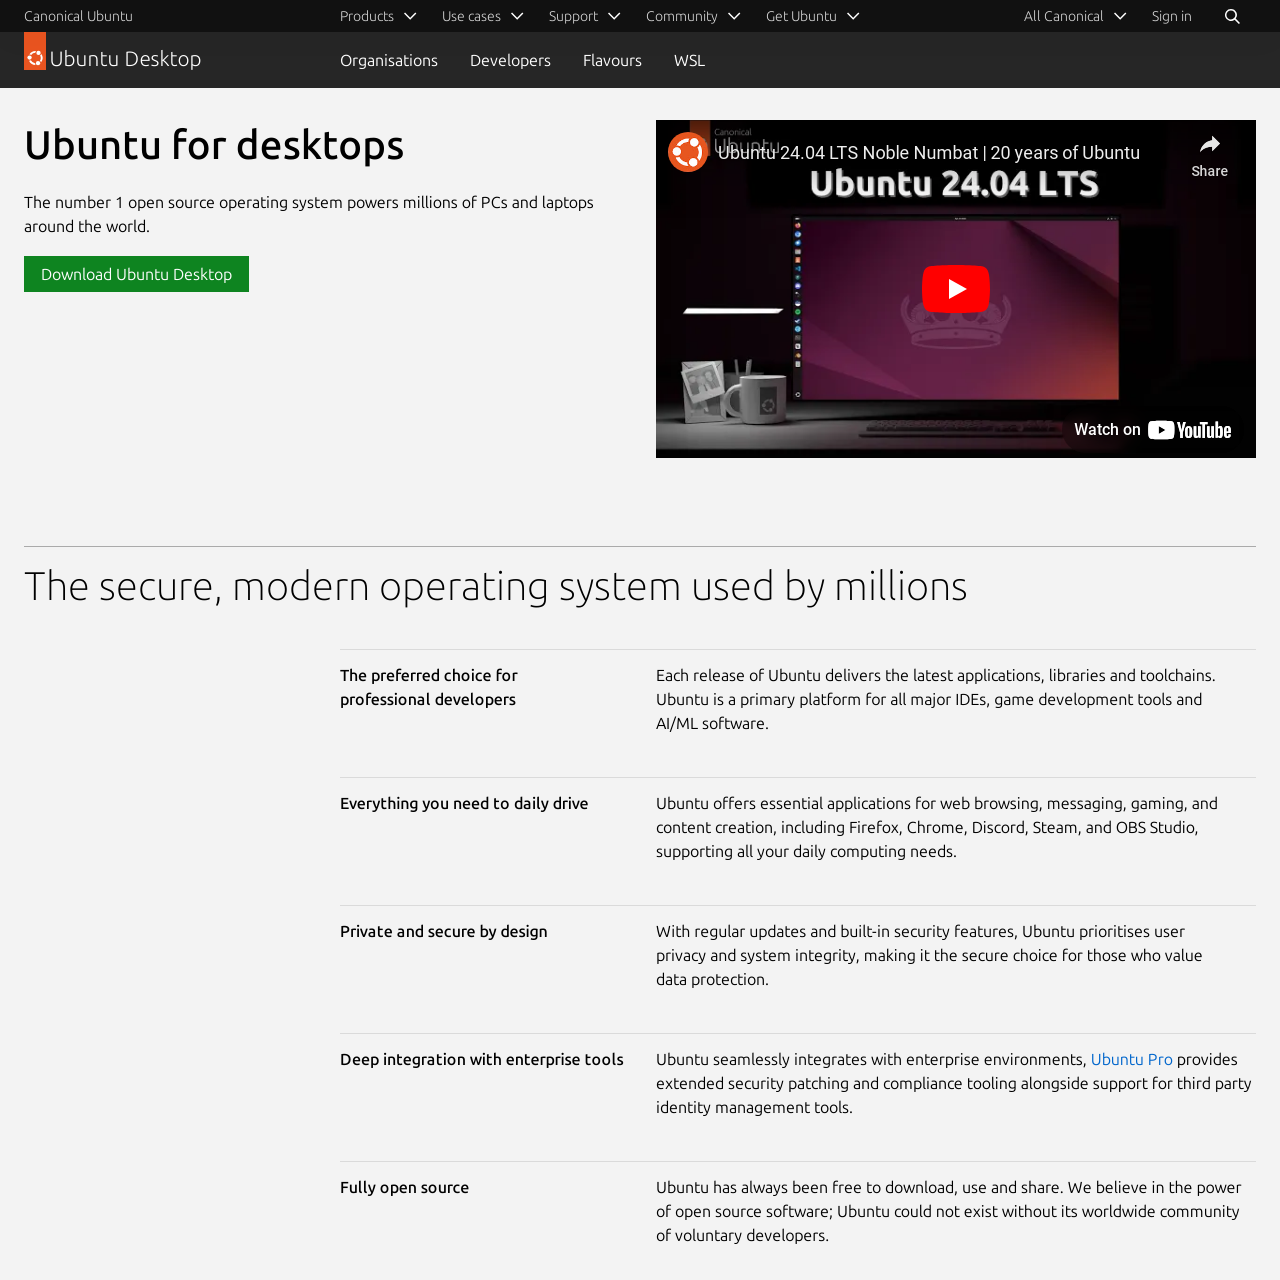
Ubuntu is the secure, modern, and open-source operating system that powers millions of PCs and laptops around the world. It offers a rich developer experience, seamless integration with enterprise environments, and comprehensive security and management features through Ubuntu Pro. Key Points Ubuntu is a free and open-source operating system that prioritizes user privacy and system integrity. Ubuntu integrates with enterprise tools and is certified on a wide range of hardware, including Raspberry Pi, to deliver optimized performance. Ubuntu Desktop empowers developers across various industries and can be used on Windows through Windows Subsystem for Linux (WSL). Ubuntu has a strong global community that contributes to the development and provides learning resources and troubleshooting advice. Ubuntu is available for download or can be pre-installed on devices from major hardware manufacturers, and Canonical provides professional support through Ubuntu Pro.
-
Ubuntu is the secure, modern, and open-source operating system that powers millions of PCs and laptops around the world. It offers a rich developer experience, seamless integration with enterprise environments, and comprehensive security and management features through Ubuntu Pro. Key Points Ubuntu is a free and open-source operating system that prioritizes user privacy and system integrity. Ubuntu integrates with enterprise tools and is certified on a wide range of hardware, including Raspberry Pi, to deliver optimized performance. Ubuntu Desktop empowers developers across various industries and can be used on Windows through Windows Subsystem for Linux (WSL). Ubuntu has a strong global community that contributes to the development and provides learning resources and troubleshooting advice. Ubuntu is available for download or can be pre-installed on devices from major hardware manufacturers, and Canonical provides professional support through Ubuntu Pro. View full link
-
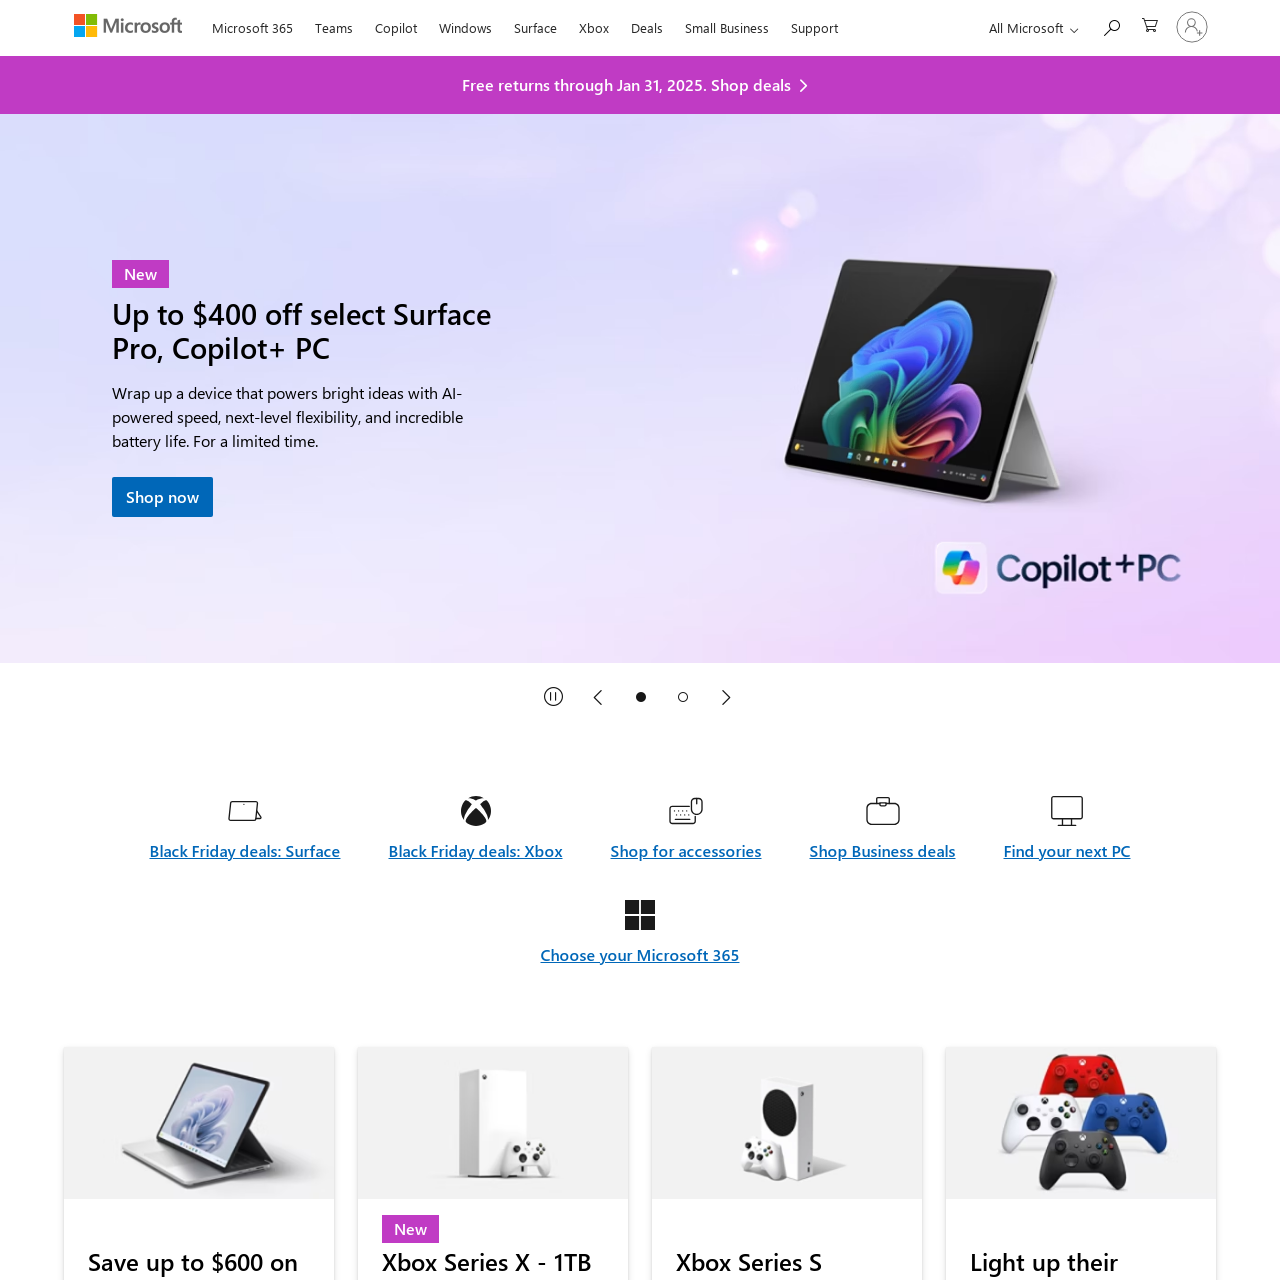
Microsoft.com is the official website of Microsoft Corporation, a leading technology company. The site serves as a hub for information about Microsoft's products and services, including Windows operating systems, Office productivity software, Azure cloud services, and hardware such as Surface devices and Xbox gaming consoles. Key features of the site include: Product Information: Detailed descriptions of software and hardware products, including features, pricing, and support. Services: Information on cloud solutions, enterprise services, and developer tools. Support: Access to customer support, troubleshooting guides, and community forums. News and Updates: Latest announcements, blog posts, and press releases related to Microsoft and its initiatives. Resources: Educational content, tutorials, and documentation for developers and IT professionals. Overall, Microsoft.com provides comprehensive resources for consumers, businesses, and developers to engage with Microsoft's ecosystem.
-
Microsoft.com is the official website of Microsoft Corporation, a leading technology company. The site serves as a hub for information about Microsoft's products and services, including Windows operating systems, Office productivity software, Azure cloud services, and hardware such as Surface devices and Xbox gaming consoles. Key features of the site include: Product Information: Detailed descriptions of software and hardware products, including features, pricing, and support. Services: Information on cloud solutions, enterprise services, and developer tools. Support: Access to customer support, troubleshooting guides, and community forums. News and Updates: Latest announcements, blog posts, and press releases related to Microsoft and its initiatives. Resources: Educational content, tutorials, and documentation for developers and IT professionals. Overall, Microsoft.com provides comprehensive resources for consumers, businesses, and developers to engage with Microsoft's ecosystem. View full link
-
Xtreme .NET Talk community covers various topics related to .NET development. The forum is divided into different sections, including: Key Points General .NET programming discussions. Windows Forms, ASP.NET, and other .NET technologies. Directory/File IO, Database/XML/Reporting, and other specialized topics. Community resources like the Knowledge Base, Code Library, and Quick Tips. Member discussion areas like the Water Cooler and Leader's Board.
-
Xtreme .NET Talk community covers various topics related to .NET development. The forum is divided into different sections, including: Key Points General .NET programming discussions. Windows Forms, ASP.NET, and other .NET technologies. Directory/File IO, Database/XML/Reporting, and other specialized topics. Community resources like the Knowledge Base, Code Library, and Quick Tips. Member discussion areas like the Water Cooler and Leader's Board. View full link
-
Centmin Mod is a popular LEMP stack installer for CentOS, designed to set up a high-performance web server. Here’s how to install Centmin Mod on a CentOS server: Prerequisites Server: A fresh installation of CentOS 7 or 8 (recommended). SSH Access: Access to your server via SSH. Root Privileges: You should have root access or a user with sudo privileges. Step 1: Update Your System First, log into your server and update the system packages: sudo yum update -y Step 2: Install Required Packages Install the necessary packages: sudo yum install -y git wget gcc make Step 3: Install Centmin Mod Clone the Centmin Mod Repository: git clone https://github.com/centminmod/centminmod.git /usr/local/src/centminmod Navigate to the Directory: cd /usr/local/src/centminmod Run the Installer: sudo bash centmin.sh Step 4: Configure Centmin Mod After running the installer, you will be prompted with a menu. Here are some common options: Choose the default settings for your installation. You can modify them according to your needs. Follow the prompts to set up your server. This includes selecting PHP versions, configuring MySQL, and other settings. Step 5: Complete Installation Once the installation is complete, you can check the status of the installed services: sudo service nginx status sudo service php-fpm status sudo service mysql status Step 6: Access Your Server You can now access your server via a web browser by entering your server's IP address. The default Nginx welcome page should appear if everything is set up correctly. Step 7: Post-Installation Configuration Secure MySQL: Run the following command to secure your MySQL installation: sudo mysql_secure_installation Firewall Configuration: If you have a firewall enabled, make sure to allow HTTP and HTTPS traffic: sudo firewall-cmd --permanent --add-service=http sudo firewall-cmd --permanent --add-service=https sudo firewall-cmd --reload Step 8: Additional Configuration You may want to configure additional settings, such as SSL certificates, PHP settings, and more, depending on your needs. Conclusion You have now installed Centmin Mod on your CentOS server. For further configurations and optimizations, refer to the Centmin Mod Documentation for detailed guidelines and best practices. View full article
-
Centmin Mod is a popular LEMP stack installer for CentOS, designed to set up a high-performance web server. Here’s how to install Centmin Mod on a CentOS server: Prerequisites Server: A fresh installation of CentOS 7 or 8 (recommended). SSH Access: Access to your server via SSH. Root Privileges: You should have root access or a user with sudo privileges. Step 1: Update Your System First, log into your server and update the system packages: sudo yum update -y Step 2: Install Required Packages Install the necessary packages: sudo yum install -y git wget gcc make Step 3: Install Centmin Mod Clone the Centmin Mod Repository: git clone https://github.com/centminmod/centminmod.git /usr/local/src/centminmod Navigate to the Directory: cd /usr/local/src/centminmod Run the Installer: sudo bash centmin.sh Step 4: Configure Centmin Mod After running the installer, you will be prompted with a menu. Here are some common options: Choose the default settings for your installation. You can modify them according to your needs. Follow the prompts to set up your server. This includes selecting PHP versions, configuring MySQL, and other settings. Step 5: Complete Installation Once the installation is complete, you can check the status of the installed services: sudo service nginx status sudo service php-fpm status sudo service mysql status Step 6: Access Your Server You can now access your server via a web browser by entering your server's IP address. The default Nginx welcome page should appear if everything is set up correctly. Step 7: Post-Installation Configuration Secure MySQL: Run the following command to secure your MySQL installation: sudo mysql_secure_installation Firewall Configuration: If you have a firewall enabled, make sure to allow HTTP and HTTPS traffic: sudo firewall-cmd --permanent --add-service=http sudo firewall-cmd --permanent --add-service=https sudo firewall-cmd --reload Step 8: Additional Configuration You may want to configure additional settings, such as SSL certificates, PHP settings, and more, depending on your needs. Conclusion You have now installed Centmin Mod on your CentOS server. For further configurations and optimizations, refer to the Centmin Mod Documentation for detailed guidelines and best practices. View full article View full article
-
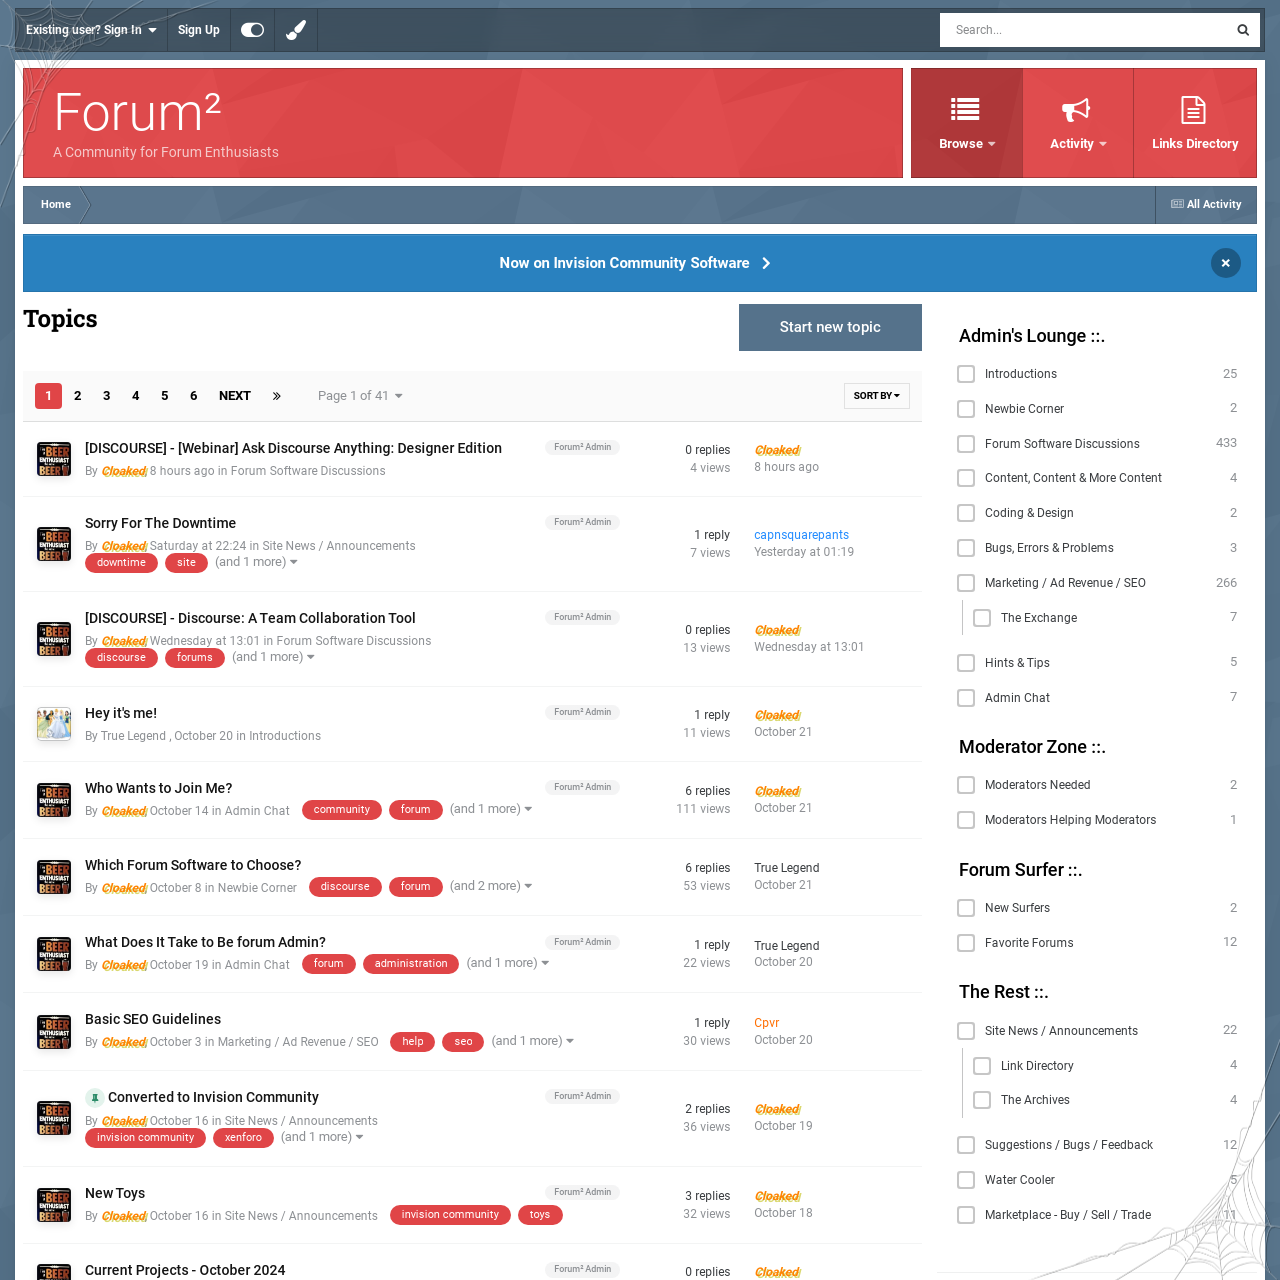
Forum for forum enthusiasts. View full link
-
SEO help forum. View full link
-

Announcing Windows 11 Insider Preview Build 22635.4510 (Beta Channel)
BetaTime posted a blog entry in Windows Insider
Hello Windows Insiders, today we are releasing Windows 11 Insider Preview Build 22635.4510 (KB5046716) to the Beta Channel. Changes in Beta Channel builds and updates are documented in two buckets: new features, improvements, and fixes that are being gradually rolled out for Insiders who have turned on the toggle to get the latest updates as they are available (via Settings > Windows Update*) and then new features, improvements, and fixes rolling out to everyone in the Beta Channel. For more information, see the Reminders section at the bottom of this blog post. Changes and Improvements gradually being rolled out to the Beta Channel with toggle on* [Taskbar & System Tray] We are rolling out the ability to share files directly from the jump lists on the taskbar, which appears when you right-click on an app with a jump list like Notepad the taskbar. [caption id="attachment_177429" align="alignnone" width="318"]https://blogs.windows.com/wp-content/uploads/prod/sites/44/2024/11/jump-list-share.png Share icon appearing on a txt file on the jump list for Notepad.[/caption] [Input] We are beginning to roll out the new Gamepad keyboard layout for the on-screen keyboard in Windows 11 again that began rolling out to Windows Insiders in the Beta Channel with Build 22635.4145. [caption id="attachment_177283" align="alignnone" width="692"]https://blogs.windows.com/wp-content/uploads/prod/sites/44/2024/08/gamepad-keyboard-layout-1024x296.png New Gamepad keyboard layout for the on-screen keyboard in Windows 11 that supports the ability to use your Xbox controller to navigate and type.[/caption] [Narrator] We have added new functionalities to Narrator scan mode. Skip past links (N’) allows you to navigate to the text after a link. This is most helpful when navigating through long emails, news articles, and wiki pages. Jump to lists (L’) allows you to quickly access a list on a web page or a document. To try these new features, you need to turn on Narrator first (Win key + Ctrl + Enter), then turn scan mode ON by pressing Caps Lock + Spacebar and finally use the new shortcuts – ‘N’ and ‘L’. Please note that scan mode is ‘ON’ by default on most web pages (like news articles, wiki page, etc.). [Speech in Windows] We have improved our speech-to-text and text-to-speech experience on Windows. Users of Narrator, voice access, live captions, live translations, and voice typing might see a message asking them to update their language files manually. The language files will be released separately through Microsoft Store. Fixes gradually being rolled out to the Beta Channel with toggle on* [Lock screen] Fixed an issue where you might unexpectedly see a message saying “You’re offline. Widgets are unavailable”. Reminders for Windows Insiders in the Beta Channel Windows Insiders in the Beta Channel will receive updates based on Windows 11, version 23H2 via an enablement package (Build 22635.xxxx). Many features in the Beta Channel are rolled out using Control Feature Rollout technology, starting with a subset of Insiders and ramping up over time as we monitor feedback to see how they land before pushing them out to everyone in this channel. For Windows Insiders in the Beta Channel who want to be the first to get features gradually rolled out to you, you can turn ON the toggle to get the latest updates as they are available via Settings > Windows Update*. Over time, we will increase the rollouts of features to everyone with the toggle turned on. Should you keep this toggle off, new features will gradually be rolled out to your PC over time once they are ready. Features and experiences included in these builds may never get released as we try out different concepts and get feedback. Features may change over time, be removed, or replaced and never get released beyond Windows Insiders. Some of these features and experiences could show up in future Windows releases when they’re ready. Some features in active development we preview with Windows Insiders may not be fully localized and localization will happen over time as features are finalized. As you see issues with localization in your language, please report those issues to us via Feedback Hub. Because the Dev and Beta Channels represent parallel development paths from our engineers, there may be cases where features and experiences show up in the Beta Channel first. Check out Flight Hub for a complete look at what build is in which Insider channel. Thanks, Amanda & BrandonView the full article -
Version 1.0.0
1 download
To get started you first need a licence to install Windows 11 or have a Windows 10 device that qualifies for an upgrade to Windows 11. Make sure you have: An internet connection (internet service provider fees may apply). Sufficient data storage available on the computer, USB or external drive you are downloading the .iso file to. A blank DVD disc with at least 8GB (and DVD burner) to create a bootable disc. We recommend using a blank USB or blank DVD, because any content on it will be deleted during installation. If you receive a “disc image file is too large” message while attempting to burn a DVD bootable disc from an ISO file, consider using a higher capacity Dual Layer DVD. Ensure the PC you want to install Windows 11: Has a 64-bit CPU: Windows 11 can only run on 64-bit CPUs. To see if your PC has one, go to Settings > System > About, or search “System Information” in Windows and look under “System Type.” Windows 11 Media Creation Tool creates installation media only for x64 processors. For Arm-based PCs, you should wait until you are notified through Windows Update that the upgrade is ready for your PC. Meets system requirements: Not all devices running Windows 10 are eligible to receive a Windows 11 upgrade. See the Note below with the link to: Windows 11 device specifications for upgrade requirements and supported features. Certain features required for additional hardware. WARNING: Installing Windows 11 media on a PC that does not meet the Windows 11 minimum system requirements is not recommended and may result in compatibility issues. If you proceed with installing Windows 11 on a PC that does not meet the requirements, that PC will no longer be supported and won't be entitled to receive updates. Damages to the PC due to lack of compatibility aren't covered under the manufacturer warranty. Matches your current language: You'll need to choose the same language when you install Windows 11. To see which language you're currently using, go to Time & language in PC settings or Region in the Control Panel. Note: See the Windows 11 device specifications for upgrade requirements and supported features. Certain features require additional hardware. We also recommend that you visit the website of your PC manufacturer for information about updated drivers and hardware compatibility. Using the Media Creation Tool to create installation media: After downloading, run the media creation tool. You need to be an administrator to run this tool. If you agree to the licence terms, select Accept. On the What do you want to do? page, select Create installation media for another PC and then select Next. Select the language, edition and architecture (64-bit) for Windows 11. Select which media you want to use: USB flash drive: Attach a blank USB flash drive with at least 8GB of space. Any content on the flash drive will be deleted. ISO file: Save an ISO file to your PC. This can be used to create a bootable DVD. After the file is downloaded, you can go to location where the file is saved, or select Open DVD burner, and follow the instructions to burn the file to a DVD. After the installation media is created, follow the steps below to use it. To check for updates now, select the Start button, and then go to Settings > Windows Update and select Check for updates. You may also wish to visit your device manufacturer’s support site for any additional drivers that may be needed. Note: Drivers for Surface devices may be found on the Download drivers and firmware for Surface page. Before you install Windows 11, it’s a good idea to save any work and back up your PC before you start. If you used the Media Creation Tool to download an ISO file for Windows 11, remember to burn it to a DVD before following these steps: Attach the USB flash drive or insert the DVD on the PC where you want to install Windows 11. Restart your PC. If your PC does not automatically boot to the USB or DVD media, you might have to open a boot menu or change the boot order in your PC's BIOS or UEFI settings. To open a boot menu or change the boot order, you'll typically need to press a key (such as F2, F12, Delete or Esc) immediately after you turn on your PC. For instructions on accessing the boot menu or changing the boot order for your PC, check the documentation that came with your PC or go to the manufacturer's website. If you do not see the USB or DVD media device listed within the boot options, you may need to reach out to the PC manufacturer for instructions for temporarily disabling Secure Boot in your BIOS settings. If changing the boot menu or order doesn't work, and your PC immediately boots into the OS you want to replace, it is possible the PC had not fully shut down. To ensure the PC fully shuts down, select the power button on the sign-in screen or on the Start menu and select Shut down. On the Install Windows page, select your language, time and keyboard preferences and then select Next. Select Install Windows. Important Note: If you made changes to the boot order in step 2, you may face a scenario where the initial Install Windows page will display after the installation process is complete. To resolve this, you will need to revert the changes you made to the boot order. This ensures that the internal drive you just installed Windows on will boot normally. -
View File Windows 11 ISO To get started you first need a licence to install Windows 11 or have a Windows 10 device that qualifies for an upgrade to Windows 11. Make sure you have: An internet connection (internet service provider fees may apply). Sufficient data storage available on the computer, USB or external drive you are downloading the .iso file to. A blank DVD disc with at least 8GB (and DVD burner) to create a bootable disc. We recommend using a blank USB or blank DVD, because any content on it will be deleted during installation. If you receive a “disc image file is too large” message while attempting to burn a DVD bootable disc from an ISO file, consider using a higher capacity Dual Layer DVD. Ensure the PC you want to install Windows 11: Has a 64-bit CPU: Windows 11 can only run on 64-bit CPUs. To see if your PC has one, go to Settings > System > About, or search “System Information” in Windows and look under “System Type.” Windows 11 Media Creation Tool creates installation media only for x64 processors. For Arm-based PCs, you should wait until you are notified through Windows Update that the upgrade is ready for your PC. Meets system requirements: Not all devices running Windows 10 are eligible to receive a Windows 11 upgrade. See the Note below with the link to: Windows 11 device specifications for upgrade requirements and supported features. Certain features required for additional hardware. WARNING: Installing Windows 11 media on a PC that does not meet the Windows 11 minimum system requirements is not recommended and may result in compatibility issues. If you proceed with installing Windows 11 on a PC that does not meet the requirements, that PC will no longer be supported and won't be entitled to receive updates. Damages to the PC due to lack of compatibility aren't covered under the manufacturer warranty. Matches your current language: You'll need to choose the same language when you install Windows 11. To see which language you're currently using, go to Time & language in PC settings or Region in the Control Panel. Note: See the Windows 11 device specifications for upgrade requirements and supported features. Certain features require additional hardware. We also recommend that you visit the website of your PC manufacturer for information about updated drivers and hardware compatibility. Using the Media Creation Tool to create installation media: After downloading, run the media creation tool. You need to be an administrator to run this tool. If you agree to the licence terms, select Accept. On the What do you want to do? page, select Create installation media for another PC and then select Next. Select the language, edition and architecture (64-bit) for Windows 11. Select which media you want to use: USB flash drive: Attach a blank USB flash drive with at least 8GB of space. Any content on the flash drive will be deleted. ISO file: Save an ISO file to your PC. This can be used to create a bootable DVD. After the file is downloaded, you can go to location where the file is saved, or select Open DVD burner, and follow the instructions to burn the file to a DVD. After the installation media is created, follow the steps below to use it. To check for updates now, select the Start button, and then go to Settings > Windows Update and select Check for updates. You may also wish to visit your device manufacturer’s support site for any additional drivers that may be needed. Note: Drivers for Surface devices may be found on the Download drivers and firmware for Surface page. Before you install Windows 11, it’s a good idea to save any work and back up your PC before you start. If you used the Media Creation Tool to download an ISO file for Windows 11, remember to burn it to a DVD before following these steps: Attach the USB flash drive or insert the DVD on the PC where you want to install Windows 11. Restart your PC. If your PC does not automatically boot to the USB or DVD media, you might have to open a boot menu or change the boot order in your PC's BIOS or UEFI settings. To open a boot menu or change the boot order, you'll typically need to press a key (such as F2, F12, Delete or Esc) immediately after you turn on your PC. For instructions on accessing the boot menu or changing the boot order for your PC, check the documentation that came with your PC or go to the manufacturer's website. If you do not see the USB or DVD media device listed within the boot options, you may need to reach out to the PC manufacturer for instructions for temporarily disabling Secure Boot in your BIOS settings. If changing the boot menu or order doesn't work, and your PC immediately boots into the OS you want to replace, it is possible the PC had not fully shut down. To ensure the PC fully shuts down, select the power button on the sign-in screen or on the Start menu and select Shut down. On the Install Windows page, select your language, time and keyboard preferences and then select Next. Select Install Windows. Important Note: If you made changes to the boot order in step 2, you may face a scenario where the initial Install Windows page will display after the installation process is complete. To resolve this, you will need to revert the changes you made to the boot order. This ensures that the internal drive you just installed Windows on will boot normally. Submitter BetaTime Submitted 11/15/2024 Category Windows
-
Version 1.0.0
0 downloads
Super Duck Hunter Commander is an excellent duck hunt & shooting game for real waterfowl hunters. It has a lot of cool new features and attractive graphics for better user experience. This duck shooting game contains multiple duck hunter seasons and championship locations for the hunters. Can you become best gunshot shooting commander? 2 GAME MODES Duck Hunter Super Shooter comes with 2 interesting game-play modes to shoot waterfowl in the woods and lakes. In lake location complete various duck shooting seasons and earn maximum coins to upgrade your shooting gears and guns. On the other hand, the Jungle location is the endless mission, which spreads over multiple locations in the forest. Like a real hunter, the game puts you in real nature environment. -
View File Duck Hunting 3D: Classic Hunt Super Duck Hunter Commander is an excellent duck hunt & shooting game for real waterfowl hunters. It has a lot of cool new features and attractive graphics for better user experience. This duck shooting game contains multiple duck hunter seasons and championship locations for the hunters. Can you become best gunshot shooting commander? 2 GAME MODES Duck Hunter Super Shooter comes with 2 interesting game-play modes to shoot waterfowl in the woods and lakes. In lake location complete various duck shooting seasons and earn maximum coins to upgrade your shooting gears and guns. On the other hand, the Jungle location is the endless mission, which spreads over multiple locations in the forest. Like a real hunter, the game puts you in real nature environment. Submitter BetaTime Submitted 11/15/2024 Category Puzzles & Games
-
View File Facebook Keeping up with friends is faster than ever. • See what friends are up to • Share updates, photos and videos • Get notified when friends like and comment on your posts • Text, chat and have group conversations • Play games and use your favorite apps Submitter BetaTime Submitted 11/15/2024 Category Social Network
-
-
Reddit View File Welcome to Reddit, the heart of the internet. Reddit is a social media platform with something for everyone: trending topics, diverse anonymous conversations, fun content an engaging community for every interest, and comment threads. Redditors have authentic and interesting conversations around all sorts of interesting and funny content. You’ll find gaming communities, insightful bloggers, meme-makers, anonymous posts, expert opinions, passionate TV fandoms, travel enthusiasts, support groups, AI forums, news junkies, artists, the latest celeb gossip, and creators of all types. Submitter BetaTime Submitted 11/15/2024 Category Social Network
-
Version 1.0.0
0 downloads
Welcome to Reddit, the heart of the internet. Reddit is a social media platform with something for everyone: trending topics, diverse anonymous conversations, fun content an engaging community for every interest, and comment threads. Redditors have authentic and interesting conversations around all sorts of interesting and funny content. You’ll find gaming communities, insightful bloggers, meme-makers, anonymous posts, expert opinions, passionate TV fandoms, travel enthusiasts, support groups, AI forums, news junkies, artists, the latest celeb gossip, and creators of all types. -
View File Debian Bookworm The Debian project is pleased to announce the eighth update of its stable distribution Debian 12 (codename bookworm). This point release mainly adds corrections for security issues, along with a few adjustments for serious problems. Security advisories have already been published separately and are referenced where available. Please note that the point release does not constitute a new version of Debian 12 but only updates some of the packages included. There is no need to throw away old bookworm media. After installation, packages can be upgraded to the current versions using an up-to-date Debian mirror. Those who frequently install updates from security.debian.org won't have to update many packages, and most such updates are included in the point release. New installation images will be available soon at the regular locations. A network install or netinst CD is a single CD which enables you to install the entire operating system. This single CD contains just the minimal amount of software to start the installation and fetch the remaining packages over the Internet. What's better for me — the minimal bootable CD-ROM or the full CDs? It depends, but we think that in many cases the minimal CD image is better — above all, you only download the packages that you selected for installation on your machine, which saves both time and bandwidth. On the other hand, the full CDs are more suitable when installing on more than one machine, or on machines without a free Internet connection. What types of network connections are supported during installation? The network install assumes that you have a connection to the Internet. Various different ways are supported for this, like analogue PPP dial-up, Ethernet, WLAN (with some restrictions), but ISDN is not — sorry! Submitter BetaTime Submitted 11/15/2024 Category Linux / Unix


